Showing posts with label Holiday. Show all posts

Thursday, December 12, 2013

American Cheesecake

Unable to find pecans for pecan pie or pumpkin for pumpkin pie, she decided to make an American cheesecake for Thanksgiving. American cheesecake is quite different from German cheesecake. It is much creamier and more sweet than savory.

She couldn't remember any of the recipes she has used in the past, so she tried this one. The cheesecake part came out great but she was not so impressed with the crust. This could have been because she had to use German crackers instead of Graham crackers or maybe it just was not a great recipe (not sweet enough for her!). However, with some experimenting, we believe this recipe can definitely be first class in the future!

One large cheesecake (large!!!)

Crust:
~ 15 Graham crackers (she used Vollkorn crackers here in Germany)
2 Tbs butter

Filling:
4 (8oz) packages of cream cheese (important to use Philadelphia in Germany)
1 1/2 cups sugar
3/4 cup milk
4 eggs
1 cup sour cream
1 Tbs vanilla
1/4 cup flour

Preheat the oven to 350 F (175 C) and get out a 9 inch springform pan

In a bowl, crumble the Graham crackers(quite fine) and add the 2 Tbs melted butter.


Once combined, push the mixture into the bottom of the springform pan.


Set aside and use a new bowl and mix the cream cheese and sugar until smooth. This was the first recipe that she used the new hand mixer and it made it so much easier than doing everything by hand!

Add the milk and eggs, mixing between each addition. Finally, mix in the sour cream, vanilla and flour.


Pour the filling (making sure it is smooth) onto the spread out cracker mixture.


Bake for one hour. After one hour, turn off the oven but DON'T OPEN THE DOOR! Let the cheesecake sit in the turned off oven for a few hours to keep it from cracking (or so the experts say, she let hers sit for more than 3 hours and it still had a huge crack).

Remove from oven after cooled and refrigerate until serving. This is when it is beneficial to live somewhere cold because we can use our balcony as an extra refrigerator :)
 

She served the cheesecake plain, but you can add a fruit topping or something else that makes it look fancy (and covers up any cracks).

Enjoy!


Thursday, November 28, 2013

Happy Thanksgiving!

A very happy Thanksgiving to all of you! Unfortunately, he is stuck  away from home on a business trip, but that is not stopping her from making a meal with all the fixings to share with good friends. Don't worry, we'll keep some leftovers for him.

The meal will be a lot like the last few years and the recipes can be found here!

We will certainly be giving thanks to all the good in our lives this Thanksgiving and we hope you do to.

Bon appetit!

G&O lover

Friday, December 28, 2012

Butterhorn Crescents

These have been served for breakfast at her house every Christmas she can remember. Even when she is not in the USA for the holidays, she still makes them to keep the tradition going.

~Important - they need to sit over night so plan ahead!~

36 crescents:

1 package dry yeast (these seem to be the same size in the USA and Germany)
1 cup warm milk
~3 1/4 cup flour
1 tsp salt
1 cup butter
1 egg
cinnamon and sugar are optional

Warm the milk to between 105-115 F. Remove from the heat and stir in the sugar and yeast. Let sit for about 5 minutes, or as long as it takes to start to bubble. This is important because if it does not bubble it means you have killed the yeast (happened to her the first time she tried this year).

In a separate bowl, mix the flour and salt. Cut the butter into small pieces and cut it into the flour mixture. Stop when the butter is about the size of small peas. If you over blend the crescents will not be as tasty.

Beat the egg and then stir it into the milk mixture. Gradually add the mixture to the flour/butter mixture.  Mix well but do not mix very hard. The dough will still be sticky when you are finished. Cover the bowl with plastic wrap and place it in the fridge or somewhere cool (but not freezing) overnight.

THE NEXT DAY..

Remove the dough from the bowl and split it into three equal pieces. Put the other two pieces somewhere cool while you work with the third piece.

Roll out the dough on a floured board and kneed gently. Add more flour if needed.  Once the dough is no longer sticky, roll it into a 12 inch circle (we always have used a big plate to cut the dough into a perfect circle). If you would like plain crescents (her and her mom agree they are the best!) leave as is. If you want cinnamon and sugar crescents (loved by her sister and father) spread cinnamon and sugar mix over the dough.

Cut the circle into 12 triangles (hint for those who are confused, first into fourths and then each fourth into thirds). Roll from the outside in, place on a cookie sheet with the thin tip down, and slightly curve to make a crescent shape.

Cover with a damp towel and let rise someplace warm for 30-45 minutes (if you made cinnamon and sugar ones make sure to leave it the full 45 minutes because they take longer to rise). Repeat the entire process with the other two pieces of dough.

When the time is almost up, preheat the oven to 375 F (190 C).

Bake for 10-15 minutes (the bottom will get slightly brown) and let cool on a wire rack before icing.

Icing:

2 cups powdered sugar
2-3 Tbs milk
1/2 tsp vanilla

Whisk the milk, vanilla and powdered sugar together. Start with 2 Tbs of milk and add more if needed. The icing should be runny enough to easily spread but not so runny that it gets all over.


Enjoy for breakfast, a snack, or perhaps even dessert. Best with milk, hot chocolate, or coffee.


Monday, December 24, 2012

Mix-Up Monday: Christmas Traditions

Whenever two people come together there is bound to be some discussion over how holidays should play out. Everyone has grown up with their own family traditions and has definite thoughts about how Christmas (or Thanksgiving, or New Years) should go. Of course we have experienced the same thing and the addition of two cultures makes these traditions even more different sometimes.

The absolute largest difference between Christmas in the USA and in Germany is actually the day it is celebrated on. In Germany, December 24 is the day that really counts. Family comes together and eats a big meal and all the presents are opened toward the afternoon/evening. In German, this is actually called the first Christmas day (erster Weihnachtstag). The next day, December 25, is called the second Christmas day (zweiter Weihnachtstag) and is filled with family and food but not presents.

Fondue!
This is very different from the USA, where most families open no presents (or like her family did, just one small present) on Christmas Eve (the night of December 24) and instead wait to do the real celebrating on December 25. This means that the years she stays in Germany for Christmas (like this one), she is finished celebrating Christmas before it has even hit in California where the rest of her family is. Our solution? We open presents and celebrate with his family here in Stuttgart and save the presents sent from her family to open on the 25th. When we are not in Germany for Christmas, he is of course going to have to wait and do it the American way!

There are other traditions we keep that do not have as much to do with culture but with family traditions. His family eats fondue (very typical German Christmas tradition) on December 24 with an amazing super garlic sauce (recipe coming soon!). Although as a family that tradition has been put aside, we have kept it going by eating fondue on December 23.

A butterhorn
Her family's tradition is making and eating a sweet called butterhorn crescents for breakfast on December 25 (recipe coming soon!). Even though she is not in the USA, she still makes these each year and they are now part of our German Christmas.

A tradition we started together is the purchasing of one Christmas ornament we pick out together each year. We write the year on the bottom and add it to our collection.

What types of traditions does your family have during the holidays? How many of these traditions involve food?

We wish you a very very merry Christmas and delicious food coma to follow!

Friday, December 21, 2012

English Tea Cakes

This is another recipe that has been passed on to her. She got her a taste of these cookies when a friend made them the first year she lived in Germany. She said she had to have the recipe and has been making them every Christmas since.

About 30 cookies:

Cookies:
2 cups sifted flour (2 cups after sifting)
1 cup butter
1/2 cup sugar
3/4 cup ground nuts (typically walnuts)
2 egg yolks (save the whites!!)

Preheat the oven to 352 F (about 160 C)

Cream together the butter and sugar. Add the egg yolks and mix. Slowly add the flour. Mix until everything is combined well.

Form into balls (the size is really up to you, we made ours about 1 inch in diameter)

Roll the dough balls in the egg whites (that is why keeping them is important!) and then in the ground nuts. We could not find walnuts at our local store so we used hazelnut this time...honestly, when it is ground so fine you can't really tell what type of nut it is).


Place the finished dough balls on a cookie sheet (either leave ungreased or use parchment paper).

Bake five minutes, remove from the oven, and use your thumb or a teaspoon to dent each cookie. The dent does not have to be too deep, but deep enough to hold icing later.

~If you want to do this the lazy way, dent your cookies before baking~

Bake another 15 minutes. It is hard to tell when these cookies are done because they do not get brown. You just have to trust that if 18 minutes have gone by and you still can't really tell, they are probably finished.

Remove and let cool completely before icing.

Icing:

1/4 cup butter (softened)
2 cups powdered sugar
1 tsp vanilla
1 Tbs cream or milk
Food coloring of choice (or leave them white = boring!)

Cream the butter and powder sugar together. Add the milk and vanilla and the food coloring of choice.

We usually stick to Christmas colors (red or green). This year our red looked more pink... oops!

Using a knife, spread the icing into the dent of each cookie. The icing should not be so thick that this is too hard to do but not so runny that it gets all over.


Two years ago she made these cookies and decorated them with green icing and a walnut piece. She then made little homemade baggies and gave them to colleagues. They made easy but very nice looking Christmas gifts.


Thursday, November 1, 2012

Halloween Party Food


This year we hosted a small Halloween party which meant it was time to get creative with the food. We knew we wanted to have party food that was easy to eat while standing up and mingling, so any large or messy dishes were out. Through some searching online for good ideas, and some of our own creativeness, we came up with a menu that definitely fit the spirit of a spooky holiday.

Food served included:


Skeleton vegetables with Ranch dip
Just pick your favorite cut up veggies and turn them into a skeleton. Use cauliflower and olives for the skull.


Mummy pizzas
By cleverly placing cheese slices on a English Muffin pizza you can turn a easy party food into a mummy. Use olives filled with tiny pieces of red or green bell pepper for the eyes.


Dirt cups with worms
Chocolate pudding covered with crushed Oreo cookies makes this tasty desert look disgusting. Add gummy worms for an extra touch.


Ape brains
Use our Chevapchichi recipe  to make meatballs that look like creepy brains. Just cook them a bit longer than you normally would and watch them shrivel.


Graveyard chili dip
We used chili but you can also use bean or another type of dip. Cut out graveyard shapes (we did tombstones, a cat, fence, and a tree) from flour tortillas and bake for about 10 minutes. The tortilla will become crispy and  can stand on its own. Cover the dip with lettuce (for grass) and diced olives (for dirt) and your boring dip is transformed into a spooky graveyard scene.


Bone breadsticks
Look neat but both the dough and shape are easy to make. These breadsticks are even creepier when you serve them with bloody marinara dipping sauce.

(Recipe below)


We also kept the drinks flowing, from brain damage shots to zombies. Fill plastic gloves up with water and freeze to cool your punch down with ice hands.


Breadsticks - Bones or regular: 


1 1/2 cup water (warm ~105 F) -  Hot to the touch but not boiling.
1 Tbs sugar
1 Tbs yeast
1/2 tsp salt
3-4 cups flour (or as much as you need to make your dough not sticky)


In a large bowl mix the water, sugar and yeast. Let sit until the mix becomes bubbly. This might take up to ten minutes.

Add the salt and flour, one cup at a time (when you get over three cups add in small incriminates since you can't take it out once it is mixed in). Stir as you add. Depending on the humidity and other such things, you might need anywhere from three to almost five cups of flour. You will know you have added enough when the dough pulls away from the sides of the bowl.


Make a ball and place in a greased bowl. Cover and let sit in a warm place (we crank up the heat in the bathroom) for 45 minutes. This should cause your dough to double in size.


Remove and roll out (adding flour as needed so it is not a sticky mess)

Cut strips.


If you are going to make bones, your strips do not need to be very long (about six inches should be fine). Cut both ends (as shown in the picture) and wrap the ends around to make the bone shape. Press the dough together to keep in place.

If you want to make regular bread sticks you can leave as strips or role each piece into a long snake and wrap it around itself (making a twisted breadstick).


Place on a cooking sheet (leave room  between them so they can grow)

Cover and place back in the warm spot you were using. They will need to rise another 30 minutes so you do not need to preheat the oven to 425 F (220 C) until about 20 minutes in.


Bake 10-12 minutes or until nice and brown. Spread butter over the top and sprinkle with salt/garlic mix or garlic and Parmesan cheese. 


Addicting, especially when warm. BEWARE! :)


Wednesday, October 31, 2012

Happy Halloween!

Wishing you a very happy and safe Halloween!

We have been baking up a storm today in preparation of our Halloween party. Pizza bread bones, graveyard dip, mummy pizzas. Check us out later this week for our Halloween recipes and pictures. You have a whole year to perfect it all for next Halloween :)

Thursday, July 5, 2012

Savory Pulled Pork

Yesterday was the 4th of July. Well, everywhere had the 4th of July, but only in the USA does that mean independence, fireworks and food food food!

We celebrated the 4th a little early by making pulled pork last weekend. He was asking for that tasty sandwich he ate on Route 66 this past summer and she had been looking for something fun to cook. What it turned into was over two kilos of savory pulled pork.

Making pulled pork takes a lot of time but it is not time consuming. The actual hands-on work is quite short. The important part is good planning. You need to start at least one day before you want to eat.

Start at least  17 hours before you want to eat: 

Pork:
1 pork shoulder (with bone is best) - choose one the size you need to feed all your hungry friends

Seasoning:
 - 1 Tbs ground cumin
 - 1 Tbs garlic powder
 - 1 Tbs chili powder
 - 1 Tbs cayenne pepper
 - 1 Tbs salt
 - 1 Tbs pepper
 - 1 Tbs sweet or spicy paprika
 - 1/2 cup brown sugar


Mix all of these ingredients together and set aside (air tight container is best).


Brine (to make sure your meat will stay juicy through the long cooking time):

3 Tbs of the seasoning you just made
2 bay leaves
1/2 cup salt
1/2 cup brown sugar
2 quarts cold water (1.9 liters)


In a large bag or container mix the water and salt together and stir until the salt dissolves. Add the other ingredients and mix well.


Add your pork shoulder and seal the bag or container. It is important that whatever container you use allows the meat to be completely covered with the water solution.


Place in the refrigerator and let sit for at least 8 hours. We just left ours overnight.


Start at least 9 hours before you want to eat (depending on the size of your pork shoulder)

Preheat the oven to 225 F (110 C) - yes, that low! Do not be tempted to cook your pork at a higher temperature. This recipe takes time!


Remove the meat from the brine (and dispose of the brine) and place into what you will cook your meat in. We did not have a big enough pan so we had to use a baking sheet with edges.


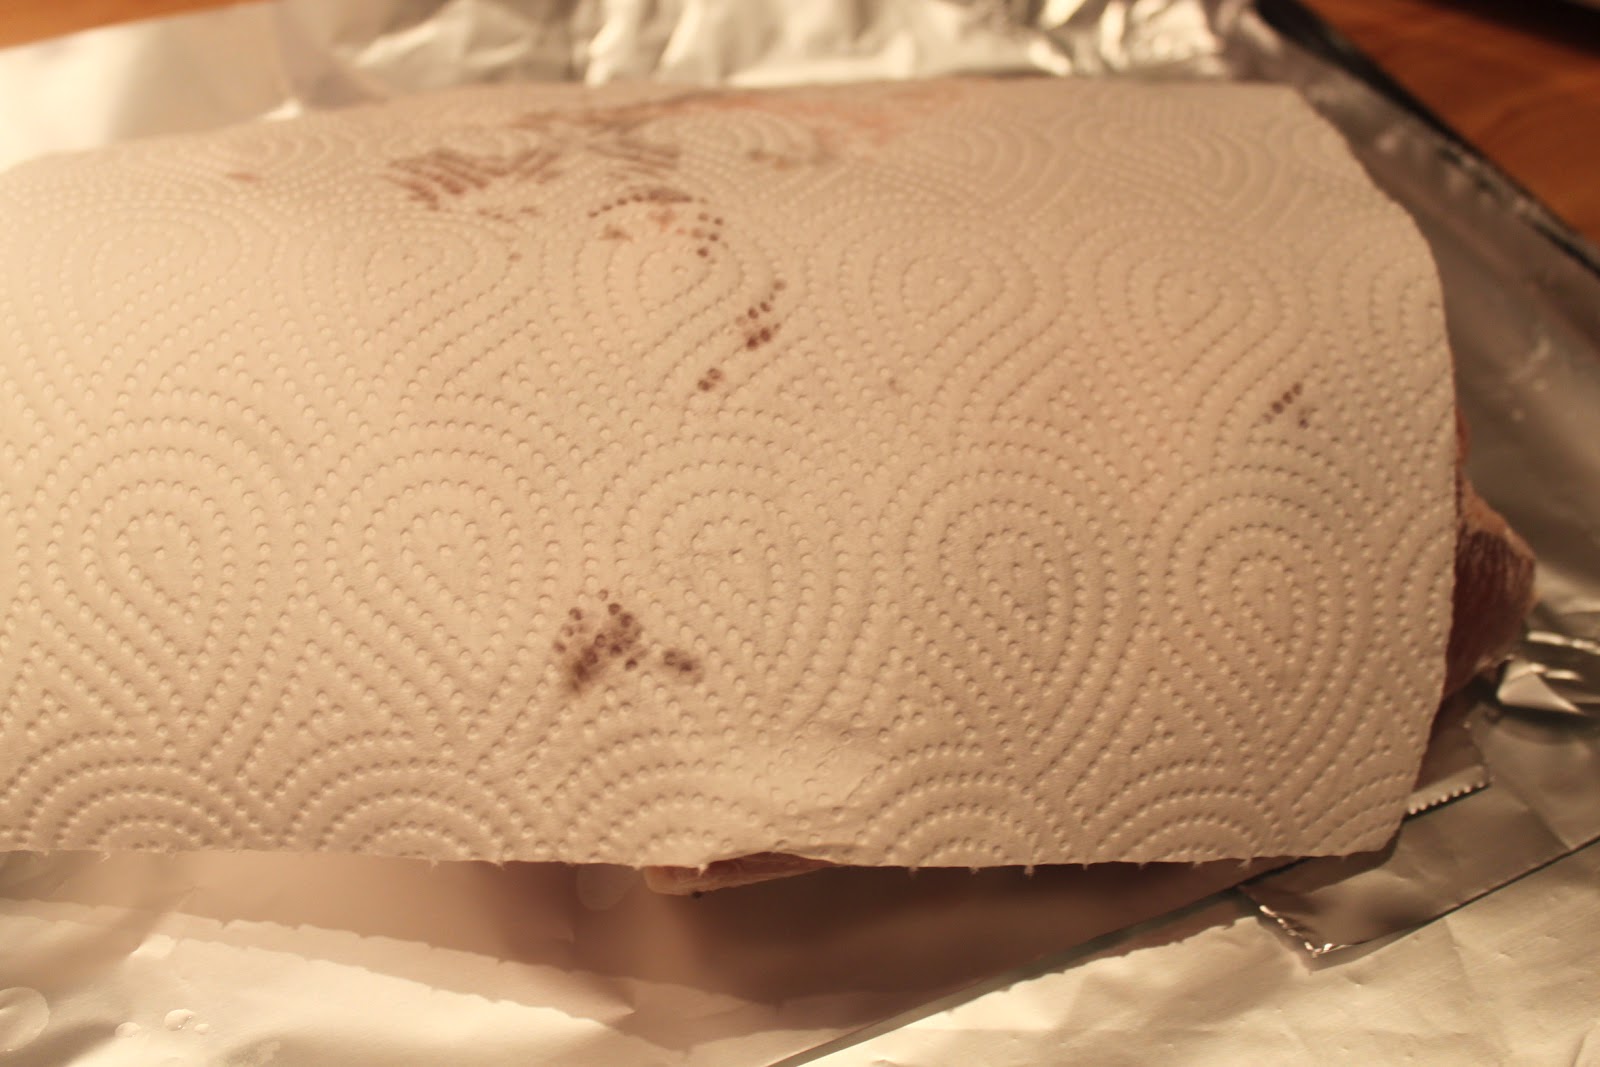
Pat the meat dry with a paper towel.


Using the seasoning mix you cover the meat (everywhere) with a thick layer of seasoning. Use your hands to rub it into the meat. If you have leftover that is ok. We mixed in some of our leftover seasoning with the finished meat and it was delicious.


Place in the oven and pull out your entertainment because it will be a loooong time before you have to do anything else with the pork.


Our pork cooked for seven hours (it was 2.2 kg). The estimate is that pulled pork needs 1.5-2 hours a pound to cook (so about 3-4 hours a kilo). The best thing is to have an oven thermometer in your pork while it cooks (place it in the thickest part of the should but not touching the bone). Your meat should be at 200 F (93 C) before you turn off the oven. Yes, we know that pork is finished cooking at a lower temperature than that, but for savory pulled pork you want it to get all the way to 200 F.

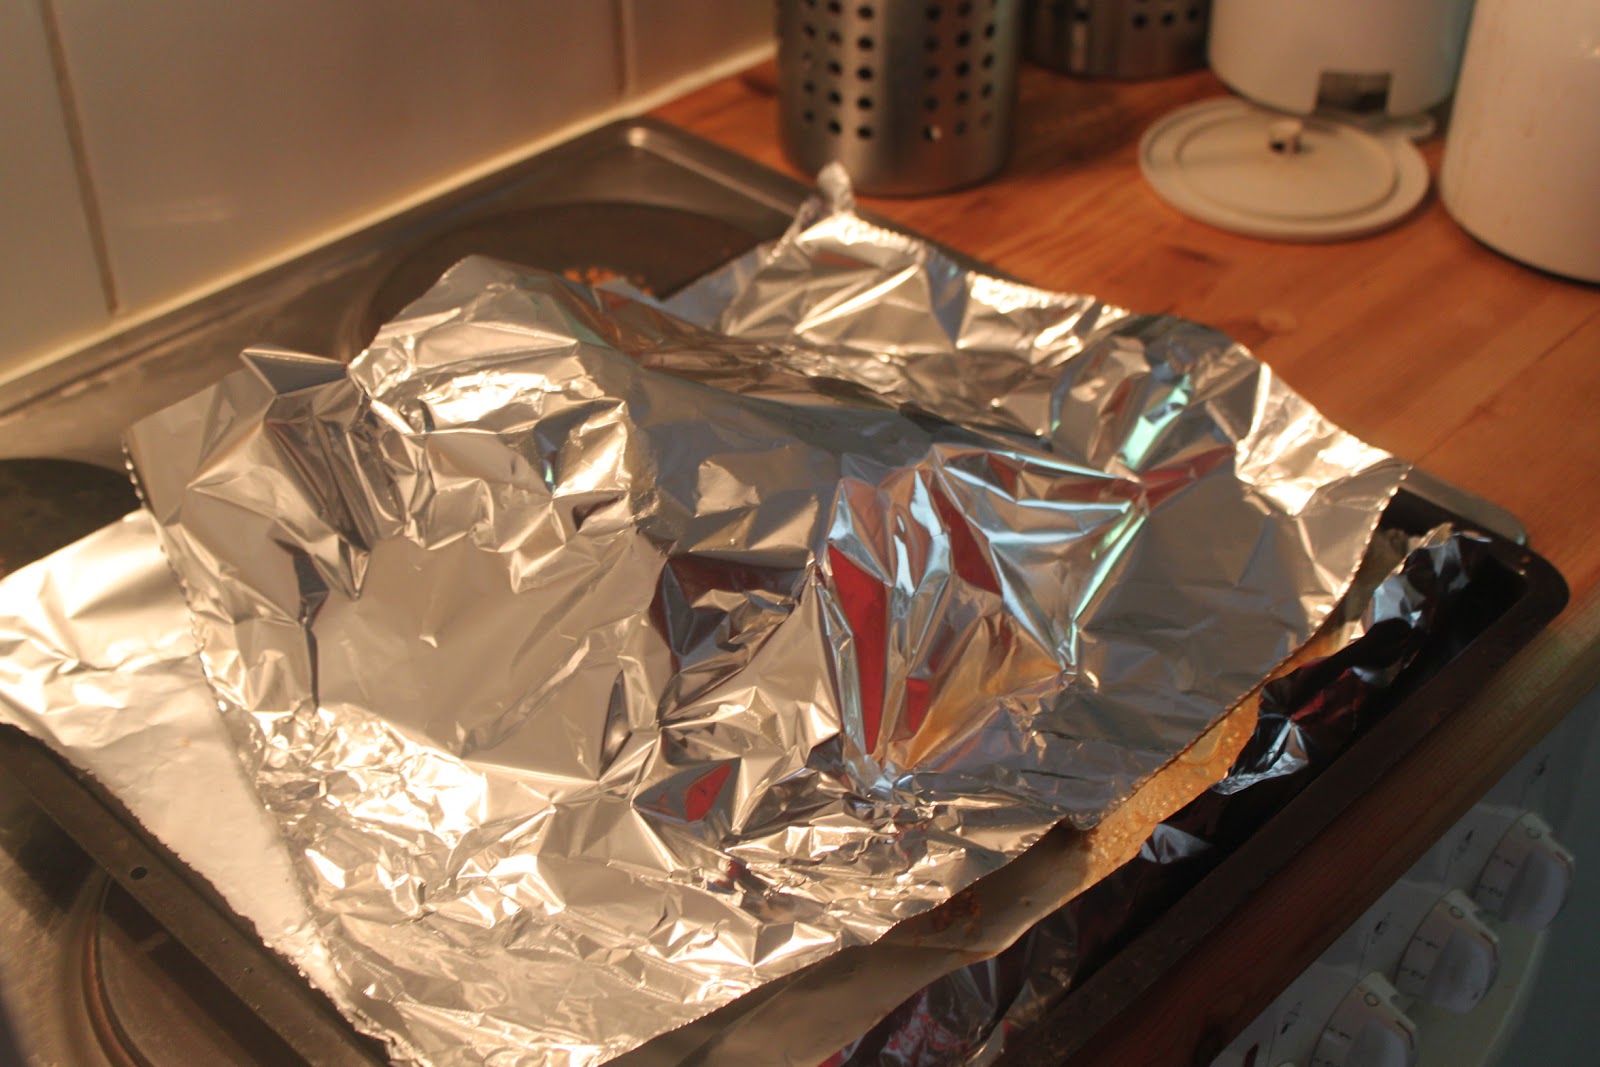
Cover and place back in the oven

Even though you have turned off the oven this does not mean you are done. Turn off the oven and let your pork sit for another two hours in the hot oven. If there is very little juice around your pork should (like ours) cover it while it sits. If there is a lot of juice in the pan you can leave it uncovered.


After two hours remove your pork shoulder. Your pork should be so soft and tender that you should only need a knife to remove the fat and the rest should fall apart by using only two forks. Yes, it is that tender!


Mix in the leftover seasoning if you want and enjoy it alone or on burger buns as a sandwich.


The first day we ate ours with store bought buns because the pork had been in our oven the entire day.

The second time we had our pulled pork we had company and we made our homemade hamburger buns and barbecue sauce to go with it.


Unfortunetly, we forgot to take pictures the second day.


We served our pulled pork sandwiches with German potato salad, green salad, and fresh strawberry pie.


Best way to warm up pulled pork

It is unlikely you will be able to eat all of your pulled pork in one day so you need a good way to heat it up without drying it out. We experimented with the oven and found it did not stay hot and got a bit dry. The best method we found was to place a little apple juice in the bottom of a pan and use a steam basket to heat up your pulled pork (just like you would use a steam basket to cook vegetables). Your pulled pork will be hot and juicy within only a few short minutes.